Using UIKit's UICalendarView in a SwiftUI app
August 23rd, 2025
Warning: I’m trying to explain this concept to myself only as far as I need to achieve my own ends. If you’re up to something similar, here are some better tutorials:

In the workout tracker that I’m building, I want to display a calendar that highlights the dates on which I’ve either done a workout in the past or have one planned in the future. Clicking or tapping on a date should let me view the day’s exercise details or provide a view to create workouts for future dates. Because SwiftUI doesn’t yet have a calendar view component, in order to accomplish this, I’ll have to dip into UIKit to use their full-featured calendar component.
This presents a challenge for me because as green as I am with SwiftUI, I have even less experience with UIKit (none), so I’m taking this as an opportunity to learn how to integrate UIKit views into SwiftUI projects and walk through a minimal implementation that handles displaying the calendar, decorating certain dates, and reacting to clicks on dates.

The code that wraps our integration code is shown below. I’ve added a few events to pass in to illustrate how this might work with provided data. For the remainder of this post, I’ll be focused on the implementation of CalendarViewForBlog.
struct CalendarContainerView: View {
    let events: [Event]
    @State private var selectedDate: Date? = nil

    init(events: [Event] = []) {
        self.events = events
    }

    var body: some View {
        VStack {
            VStack {
                CalendarViewForBlog(events: events, selectedDate: $selectedDate)
                    .frame(width: 300, height: 300)
                    .padding(.bottom, 50)
            }
            .padding()
            VStack {
                Text("Selected Date")
                if let selectedDate = selectedDate {
                    Text("(selectedDate.formatted())")
                }
            }
            .padding(.top)
        }
    }
}

#Preview {
    let calendar = Calendar.current
    let today = Date.now
    let yesterday = calendar.date(byAdding: .day, value: -1, to: today)!
    let tomorrow = calendar.date(byAdding: .day, value: 1, to: today)!

    let events = [
        Event(timestamp: today),
        Event(timestamp: yesterday),
        Event(timestamp: tomorrow)
    ]

    CalendarContainerView(events: events)
}
Starting with what I know: A SwiftUI View. The SwiftUI-ey way of getting something to show up on a screen follows a certain format. Below you’ll notice the SwiftUI version of ViewA relies on a struct that conforms to View and implements a body property returning some view.
struct ViewA: View {
    var body: some View {
        Text("Hello, World")
        ViewB()
    }
}

struct ViewB: View {
    var body: some View {
        Text("Hello, from B")
    }
}
Similarly, I can keep adding more views here that conform to this outline. But how might I add components that don’t: like a UIKit component? Enter UIViewRepresentable. Creating a view struct that conforms to this protocol will let me treat it as just another SwiftUI view. So, let’s break down what that conformance looks like and what each method and property does. Let’s start with simply rendering a calendar view.
In UIKit, the name of the calendar view is UICalendarView. We’ll first start by defining a struct that conforms to UIViewRepresentable and then let Xcode surface the stubs that we’ll need to implement.
struct ExampleCalendarView: UIViewRepresentable {
            func makeView(context: Context) -> UICalendarView {
              /**
              Create and return the UICalendarView here.
              This will handle the initial render of the view.
              */
              let view = UICalendarView()
              return view
            }

            func updateView(_ uiView: UICalendarView, context: Context) {
            }

            typealias UIViewType = UICalendarView
        }
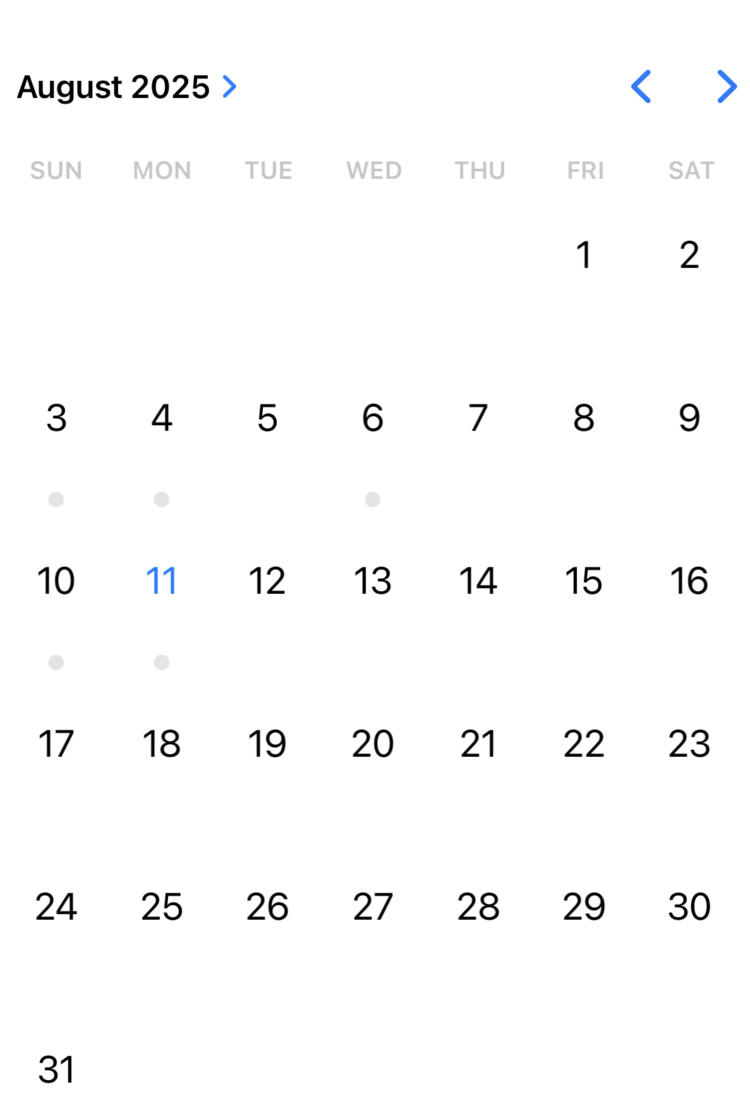
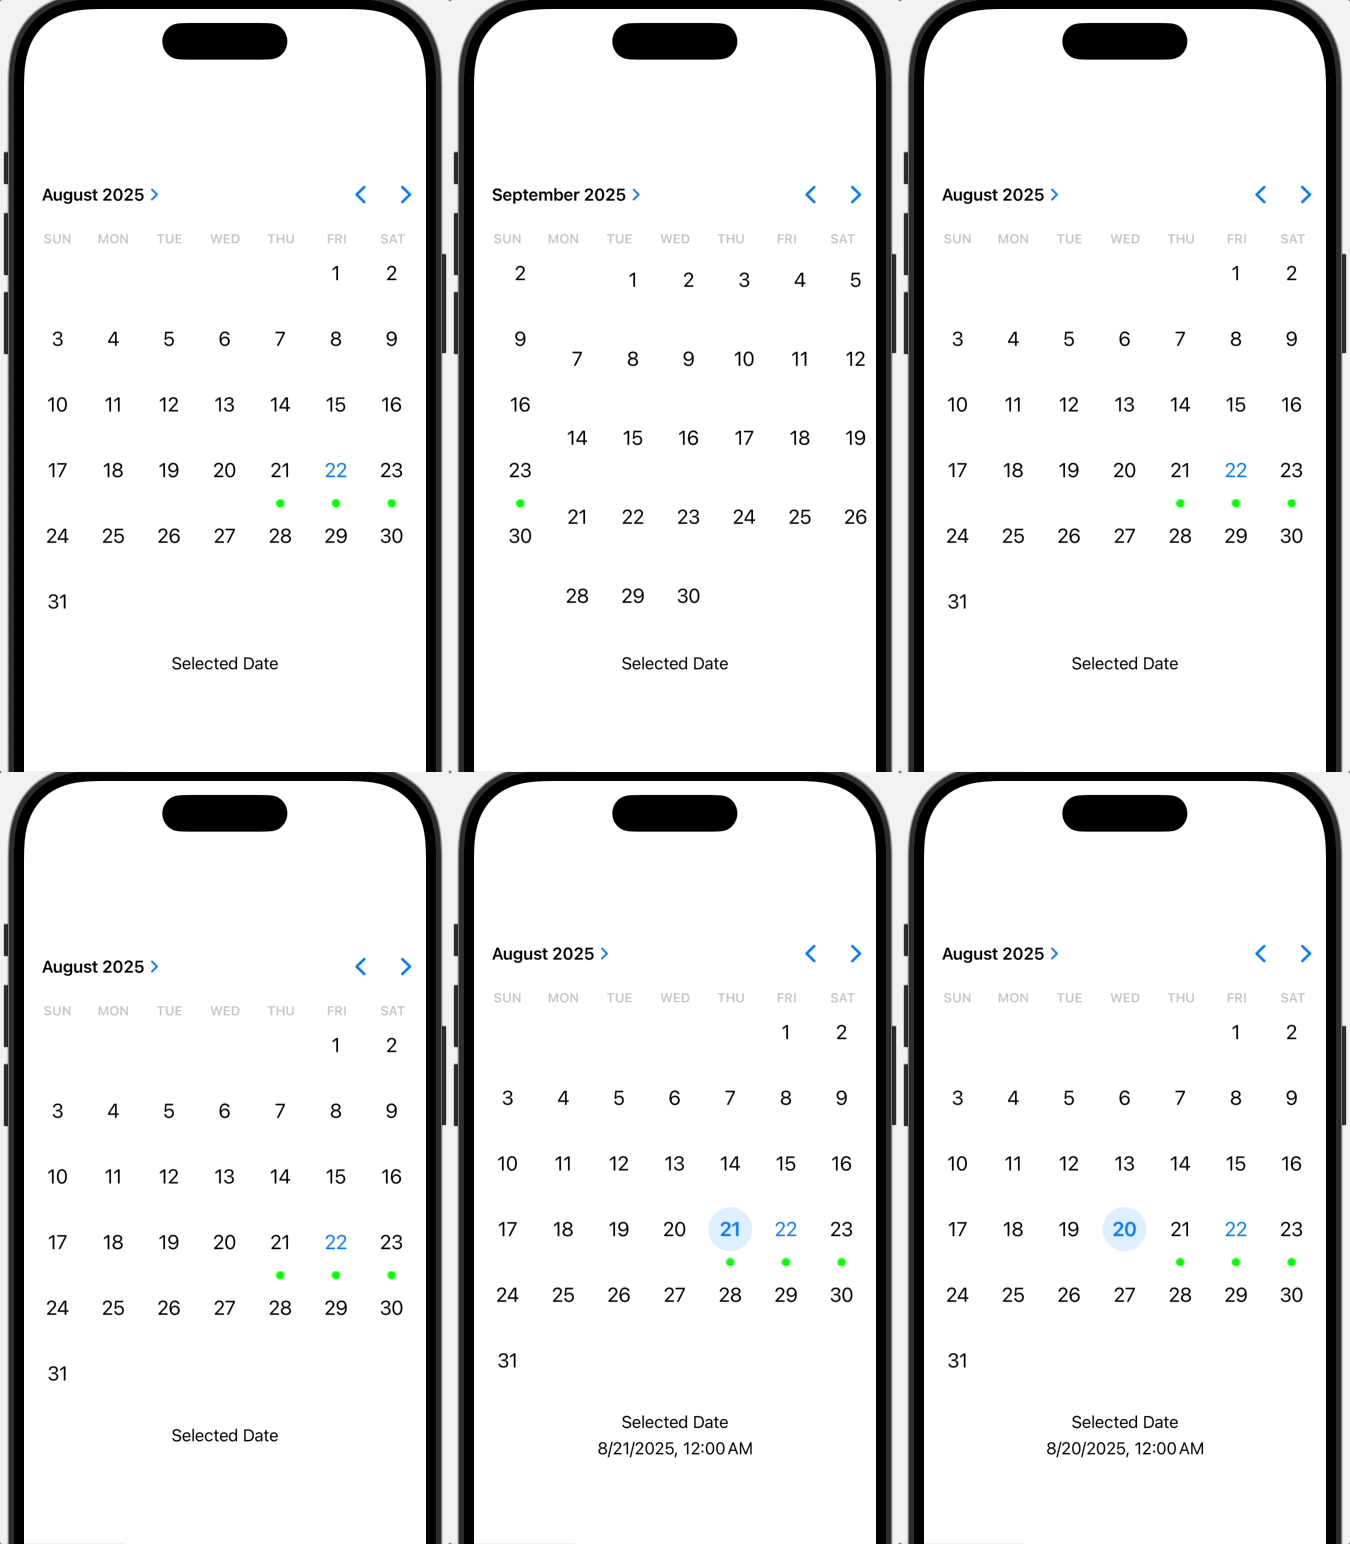
Now that we’ve rendered the image let’s continue with our next goal: decorate dates that have a workout. First, let’s initialize that view with this data which we’ll define in the preview.
struct CalendarViewForBlog: UIViewRepresentable {
    let events: [Event]

    func makeCoordinator() -> Coordinator {
        return Coordinator(parent: self)
    }

    func makeUIView(context: Context) -> UICalendarView {
        let view = UICalendarView()
        view.delegate = context.coordinator
        return view
    }

    func updateUIView(_ uiView: UICalendarView, context: Context) {}

    typealias UIViewType = UICalendarView

    class Coordinator: NSObject, UICalendarViewDelegate, UICalendarSelectionSingleDateDelegate {

        var parent: CalendarViewForBlog

        init(parent: CalendarViewForBlog) {
            self.parent = parent
        }

        func calendarView(_ calendarView: UICalendarView, decorationFor dateComponents: DateComponents) -> UICalendarView.Decoration? {
            let cal = Calendar.current
            if let currentDate = dateComponents.date {
                let dateMatch: Event? = parent.events.first { event in
                    let startOfEventDate = cal.startOfDay(for: event.timestamp)
                    return startOfEventDate == cal.startOfDay(for: currentDate)
                }

                if dateMatch != nil {
                    return .default(color: .green)
                }
            }

            return nil
        }
    }
}
The final piece is to now make the dates interactive. In this example, interacting with the dates will update the bound state that’s passed in, making the SwiftUI view container reactive to events from the calendar. We’ve passed in a bound property that simply holds on to a date, and when we click on a date in the calendar we’ll assign that property to the clicked date.
struct CalendarViewForBlog: UIViewRepresentable {
    let events: [Event]
    @Binding var selectedDate: Date?

    func makeCoordinator() -> Coordinator {
        return Coordinator(parent: self)
    }

    func makeUIView(context: Context) -> UICalendarView {
        let view = UICalendarView()
        view.delegate = context.coordinator
        view.selectionBehavior = UICalendarSelectionSingleDate(delegate: context.coordinator)
        return view
    }

    func updateUIView(_ uiView: UICalendarView, context: Context) {}

    typealias UIViewType = UICalendarView

    class Coordinator: NSObject, UICalendarViewDelegate, UICalendarSelectionSingleDateDelegate {

        var parent: CalendarViewForBlog


        init(parent: CalendarViewForBlog) {
            self.parent = parent
        }

        func calendarView(_ calendarView: UICalendarView, decorationFor dateComponents: DateComponents) -> UICalendarView.Decoration? {
            let cal = Calendar.current
            if let currentDate = dateComponents.date {
                let dateMatch: Event? = parent.events.first { event in
                    let startOfEventDate = cal.startOfDay(for: event.timestamp)
                    return startOfEventDate == cal.startOfDay(for: currentDate)
                }

                if dateMatch != nil {
                    return .default(color: .green)
                }
            }

            return nil
        }

        func dateSelection(_ selection: UICalendarSelectionSingleDate, didSelectDate dateComponents: DateComponents?) {
            let cal = Calendar.current
            let selectedDate = cal.date(from: dateComponents!)!
            parent.selectedDate = selectedDate
        }
    }
}
And there you have it. This UIViewRepresentable conforming struct now displays a calendar that is minimally decorated and interactive. I don’t have enough experience with other UIKit integrations to know how common this pattern is, but it’s worth pointing out that the view has separate properties that designate delegates for both decorations and events, though they both seem to ultimately leverage the same delegate object.
I hope that what I’ve gone over here buys me some understanding for other possible integrations. Apple continues to update UIKit alongside SwiftUI and there are more capabilities I’m interested in exploring in the future like TextKit and PencilKit. When I get there, we’ll see what this approach has in common with integrating those features.